Last Updated on 3 weeks ago by Kasey Lynch
Let me start by saying that my only experience with wallpaper prior to this was installing peel-and-stick wallpaper on one wall in my 12-foot camper. Needless to say, that experience was VERY different from this one.
Armed with a good attitude, a day off of work, a bucket of water, and a sponge, I hung my Spoonflower pre-pasted removable wallpaper. This is how it went.
What’s On Deck:
Choosing My New Home Office Wallpaper
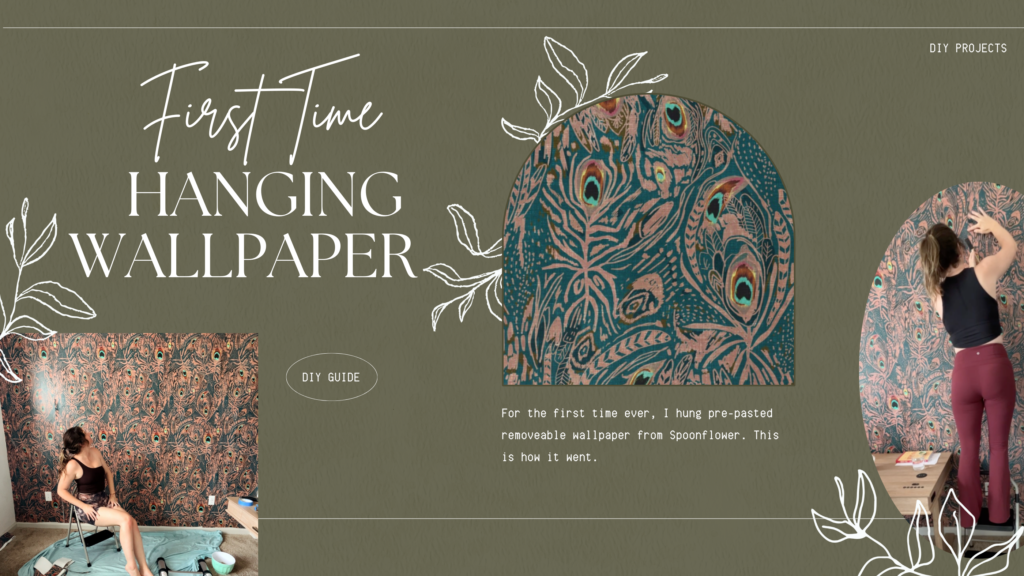
After shopping around for a couple of months in search of the perfect wallpaper print for an accent wall in my home office, I stumbled upon Spoonflower — a print-on-demand company that offers artist-designed prints on a wide range of interior decor items, from wallpaper to throw pillows.
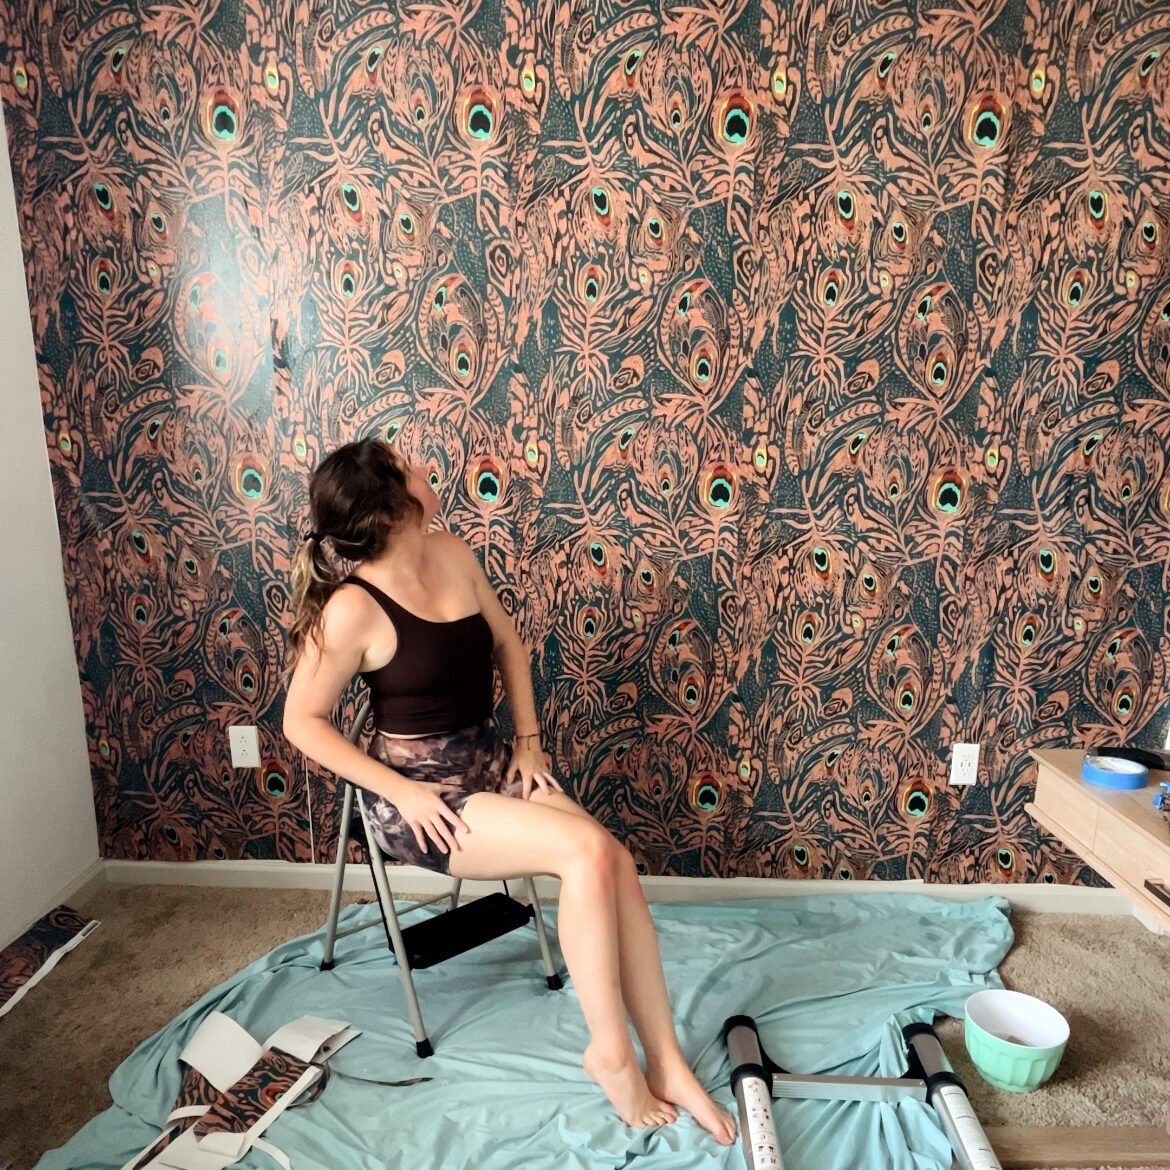
I fell in love with the Peacock Dreaming Ikat print. Its whimsical and colorful print reminded me of a cut-through way home that my mom and family friends used to drive down called the Alligator Way. You might be wondering what an Alligator has to do with peacocks.
On this Alligator way, there were small retention ponds with baby gators in it and as you followed along the winding path, skipping the busy stop lights, you’d eventually drive by a grove that was commonly populated by a couple of peacocks. If you were lucky, you could watch their vibrant and beautiful tail feathers trail behind them gracefully as the peacocks slowly crossed the street. For a little kid, gasping at wildlife was much more enjoyable than waiting for your turn at the roundabout.
As I got older, I also learned that on the final right bank turn of Alligator Way, was a standalone black, metal spiral staircase leading to nowhere. I used to think it was just a beautiful accident and whoever owned the place refused to sell — and trust me, this seemed like a perfectly reasonable explanation. The lot itself was beautiful, even in its overgrown and unkempt state.
My mom told me that a terrible fire burned the entire place to the ground. But before those flames engulfed everything except for a single spiral staircase, it was the event venue for my mom and dad’s post-wedding party!
This wasn’t just any post-wedding party; it was an unforgettable wedding bash. With all of their family and friends in town, they booked a live band, filled the bars to the brim, and danced the night away on the lake in what was lovingly referred to as the Boat House.
But I digress.
My Spoonflower Wallpaper Installation Experience
I was excited to hang my Peacock Dreaming Ikat wallpaper to breathe a little life into my boring beige home office. After a slight miscalculation on my part during the initial ordering process, I received three rolls of wallpaper one week and two remaining rolls of wallpaper a couple of weeks after.
Once I had everything I needed, I unrolled the wallpaper and temporarily hung it on the wall using painter’s tape. My thought was that if I could get some of the tight curl out of the paper itself, it would be easier to install.
This was only partially accurate, but still a miscellaneous step I highly recommend!
Each roll of wallpaper came with a short piece of paper that was the wallpaper label as well as the instruction manual. With a seemingly short list of to-do’s before, during, and after the Spoonflower wallpaper installation, I was optimistic.
My previous experience hanging wallpaper is solely from installing peel-and-stick wallpaper on a very small wall in my Sunray 109 Sport camper. This endeavor to hang Spoonflower wallpaper was an entirely different matter.
Spoonflower Wallpaper Instructions
Here’s the full list of supplies I needed to successfully complete this DIY, renter-friendly project:
- A paint roller or clean sponge
- A bucket of water
- An exacto knife or box cutter
- A drop cloth, or an old sheet
Seems simple, right? Little did I know that a full, in-depth list of instructions with substantially more detail was available online right here.
I laid down my drop cloth/sheet, retrieved my bowl of water from the kitchen, snagged a clean sponge, and prepared a cinnamon honey matcha latte — I was ready to go.
Below, I’ll list out the steps they suggested followed by my honest feedback since nothing is quite as easy as it seems.
STEP ONE
Make sure the walls are smooth, clean, dry, and free of mold, mildew, grease, or other stains. On new walls, drywall joints should be taped, mudded, and sanded smooth. Remove any nail heads, nicks, gouges, and other surface imperfections.
My feedback: This is self-explanatory. I actually had a couple of small pin holes in the wall because the wall I chose to hang this wallpaper on used to be my gallery wall. I didn’t bother filling those in before hanging.
STEP TWO
Unroll each roll to face the same way. Use a clean paint roller or sponge to wet the back of the paper. Gently fold the top and bottom so that pasted sides meet together in the middle, as shown in the diagram below. Take care not to crease the paper. Allow each panel of paper to rest in this booking phase for at least 3-5 minutes before hanging.

My feedback: Honestly, they severely undersell the amount of water you need to activate the glue. I folded and pasted the sides then waited patiently as my glue dried up right in front of my very eyes before I even contemplated carrying a piece of wallpaper to the actual wall.

STEP THREE
Once the first panel is properly booked for 3-5 minutes, unfold just the top half of the paper while leaving the white edge with the barcode still folded. From your starting point on the wall, align the top of the wallpaper with the ceiling. They recommended going left to right or right to left, ensuring you start in a corner.

My feedback: It makes perfect sense to start in a corner, which is exactly what I did. However, to my previous feedback above, if you don’t sufficiently SOAK the back of your wallpaper, the 3-5 minutes become obsolete. By the time I got my top piece to the left corner of my wall, it was sliding right off because there was no glue adhesive activated to hold it in place.
But, if you get the back of the wallpaper sopping wet, then the adhesive works properly. I was also tackling this project solo, meaning no help, no extra pair of hands, and only one extra pair of eyeballs that are lovingly sitting under the cutest little brown eyebrows of my dog Rocky Balboa. He’s solely there for moral support, which is highly recommended while hanging wallpaper.

STEP FOUR
Once the top of the paper is in position, unfold the bottom half. Smooth the paper down the wall using a damp sponge or a wallpaper squeegee. Remove air bubbles as you go, lightly pressing them from the center of the paper to the edges.
My feedback: I didn’t do this step at all. I ended up wetting the first half of the wallpaper and installing it. Then fold the wallpaper piece in half, wetting the bottom half, and then proceed to affix it to the wall. The whole concept of having all the glue ready to go was a figment of my imagination.
The recommendation to move from the center to the edges is always good advice when applying something sticky to any surface.
STEP FIVE
Book your second roll and hang it so it overlaps the previous roll by approximately 0.5″ (1+ cm). The overlap may vary from roll to roll, so be mindful and visually match the repeat. There is no need to trim the overlap. Because wallpaper shrinks as it dries, this guarantees there will be no spaces between panels. Repeat this step with each panel until you complete your installation.

My feedback: I had no issues with this step! The design I purchased repeats every two feet so I didn’t worry about lining up the edges perfectly. I was aiming for completion, not perfection.
STEP SIX
Once you’ve installed all the panels, let your paper dry completely — at least 3 hours — to guarantee it has returned to its original size. Then, use a sharp utility knife with a good grip to trim the extra paper around the frames of windows and doors, across the ceiling and by the baseboard.
My feedback: I did not wait three hours to trim! My last panel was being immensely fussy. The only way I could get it to lay even remotely flat was by using painter’s tape to secure its location and trimming a small amount off the edge. I only had about a 1- to 2-inch overlap that needed to be trimmed.
I also chose to trim the extra length at the bottom while the paper was wet but didn’t notice a substantial difference between wet wallpaper and dry wallpaper. Why, you ask? Because I’m impatient, that’s why.
My Spoonflower Wallpaper Review
For a first-timer, installing this wallpaper wasn’t the worst experience, but it definitely could have been better. If I had to redo my purchase, I would opt for the peel-and-stick version instead of the pre-pasted removable one. The peel-and-stick seems more manageable for a solo DIY project.
While I’m happy with the final results, it took me almost an hour to troubleshoot the adhesive activation for the first roll. Once I figured out how soaking wet the back of the wallpaper needed to be, the installation went much faster and with fewer errors.
The 12-foot ceilings made the process more cumbersome, as I had to continually wet the back of the wallpaper. This made the installation clumsy and complicated.
However, if you have two people working on the job, the pre-pasted removable version could still be a viable option. I do appreciate how loosely the wallpaper adheres to the wall, which is ideal for my rental property.
One miscellaneous idea that did occur to me while struggling to get the paper to stick early on, was that a spray bottle with water would be a helpful tool to reach for to streamline the “booking” process. Booking refers to the adhesive activation process.
With a spray bottle filled with water, you could easily keep the back wet without struggling to run a sopping wet sponge over it while half the wallpaper is precariously stuck to the wall and hanging on by a thread. Learn from me.
Can Spoonflower Wallpaper Be Reused? (Moving Update!)
In February 2025, I moved from my rental townhouse where I previously installed Spoonflower pre-pasted peel and stick wallpaper, into a new rental house with a fenced in back yard. Although I was thrilled to get some additional space, I desperately wanted to bring the wallpaper with me and reapply it in my new office. I wasn’t exactly sure what the removal process would be like, but I’m happy to report that:
- My walls were left completely intact
- There was minimal residue left on the walls from the adhesive
- Each piece came off the wall without excess force
The only real “damage” was along the seams of the paper where I had overlapped them. There was some mild paper/glue residue that left the long seams a little worn. Other than that, the Spoonflower wallpaper was still in great condition and ready to be reused.
Technically, the website doesn’t recommend reusing wallpaper. But for DIYers and renters, cutting costs while still creating a space that reflects our personality feels essential.
My new office wall had a different setup—shorter ceilings and more of a rectangular footprint compared to the tall, square wall I used before. Since the adhesive was gone, I needed a new installation plan.
I ended up using small nails to tack the corners, doubling up painter’s tape on the back to hold the seams, and adding a bit of tape at the bottom to keep it secure along the baseboards.
Because this wasn’t a one-size-fits-all project—and I knew my futon would cover most of the lower half—I wasn’t too worried about creating a seamless look. My goal was simple: reuse what I had, add color to the space, and avoid buying another batch of wallpaper.
The biggest challenges were making sure the spot where I had previously cut around an outlet didn’t show, and realizing I was one roll short of covering the new wall completely.
Here’s a quick video of how it turned out:
Tips for Reinstalling Wallpaper That Isn’t Meant to Be Reused
1. Inspect the paper before reusing
- Look for torn edges, glue residue, or weak seams
- Trim frayed edges with a sharp utility knife or scissors to get clean lines
2. Choose the right adhesive alternative
- Painter’s tape (doubled-up on the back) for lightweight hold and easy removal
- Removable double-sided mounting tape for a stronger grip
- Wallpaper paste or adhesive (low-tack or repositionable) if you don’t need it to be fully removable
- Small nails or tacks at corners for extra reinforcement
3. Prep the wall surface
- Wipe down walls to remove dust, grease, or residue—clean walls help adhesives stick
- Avoid textured surfaces since wallpaper will be harder to reapply smoothly
4. Plan your layout
- Measure your new wall carefully—height, width, and any cutouts (outlets, switches)
- Dry-fit the wallpaper pieces on the wall before attaching to make sure you know where seams and patterns will fall
5. Hide imperfections strategically
- Place furniture (like a couch, desk, or bookshelf) in front of any awkward seams, outlet cutouts, or mismatched areas
- Use trim pieces, frames, or even washi tape to disguise edges or gaps
6. Work from top to bottom
- Tack or tape the top corners first, then smooth downward with your hands or a wallpaper smoothing tool to prevent bubbles
7. Be realistic about the finish
- It might not look as seamless as a brand-new install—and that’s okay. The goal is to reuse, save money, and still add personality to your space
8. Have a backup plan
If you’re short a roll or a section doesn’t work out, consider:
- Framing leftover pieces as art
- Creating an accent strip or panel instead of covering a whole wall
- Mixing with paint for a creative two-tone wall
Frequently Asked Questions
Does Spoonflower wallpaper come off easily?
The pre-pasted removable and peel-and-stick versions are much easier to remove compared to traditional wallpaper. During my installation, I could easily pull off a corner, add more water to re-activate the adhesive, and then press that section of wallpaper back onto the wall. Even the next day, some seams were still lifting, making it simple to remove if I chose to.
Is Spoonflower wallpaper safe?
According to Spoonflower’s website, they print their wallpaper using 100% water-based inks, free of heavy metals, formaldehyde, and APE. They are non-hazardous, non-toxic, and biodegradable. The inks used for our wallpapers are GREENGuard Gold Certified, an industry standard for low chemical emissions. To learn more about Spoonflower’s sustainability commitments as well as health and safety FAQs, click here.
Why does Spoonflower wallpaper overlap?
On their website, Spoonflower mentions that they print approximately 0.5” (1+ cm) of overlap down the side of the right side of each toll to help match the pattern during installation. This aids in aligning the design when hanging. I found this to be a helpful practice, giving me some wiggle room to match the pattern while also creating a relatively seamless-looking final product.
Key Takeaways
At the end of the day, I would absolutely order patterned wallpaper from Spoonflower again but, here are a couple of things I would do differently:
- Research wallpaper installation videos and detailed instructions online instead of solely referring to the brief instructions that arrive with the wallpaper rolls
- Test out the traditional peel-and-stick version if tackling another wallpaper installation job solo
- Ensure I purchase a repeating pattern to make installation simpler (I did this, but it was a sheer accident that worked in my favor)
- Wait until the wallpaper dries to trim the bottom by the baseboard
- Purchase small foam paint brushes to make touch-ups easy and uneventful (I had one of these to use the day after hanging to fix some seams and it was a lifesaver)
As someone stubborn enough to tackle miscellaneous projects on her own, installing Spoonflower wallpaper is something I would absolutely do again, especially since the results bring me an immense amount of joy.
Ready to find the perfect wallpaper for your upcoming project? Give Spoonflower a gander to discover cool prints that complement any home style while supporting individual artists.